DIY Rustic Log Candles.
DIY HOLIDAY FLOATING CANDLES , COFFEE BEAN CANDLES and now Rustic Log Candles. Are you sensing a theme? Am I that obvious? Yes, okay it’s true I happen to love candles. Both of the previous candle posts have been extremely popular posts so I’m guessing y’all like candles as much as I do. Since we’ve established our love of candles, it is probably a good idea to go ahead and stock up on tea lights because I see we’re all going to go through a wagon full. 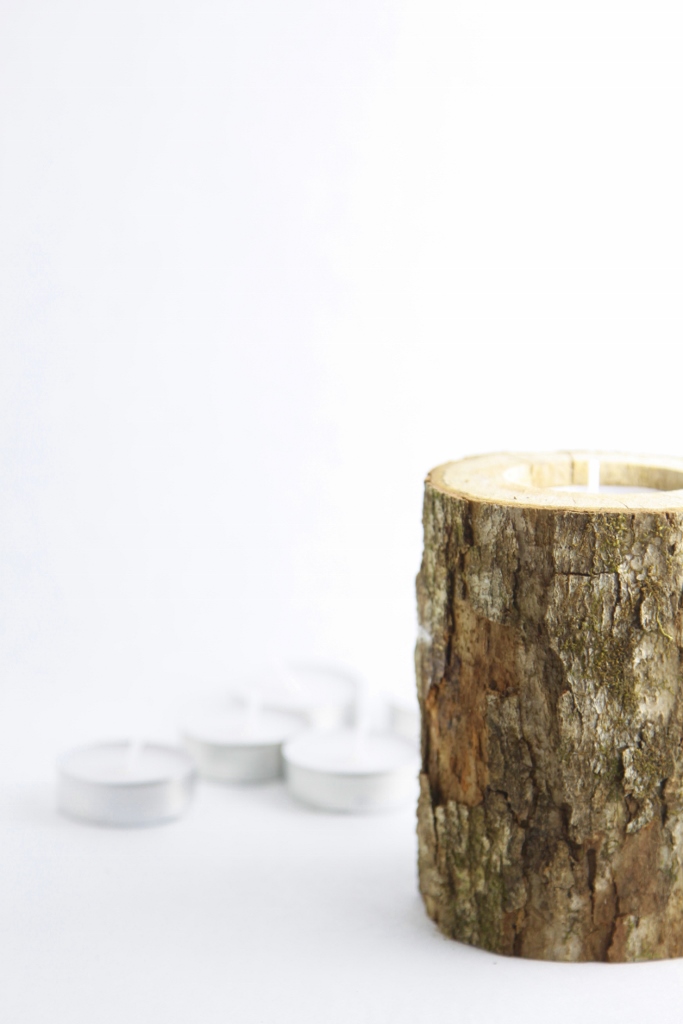
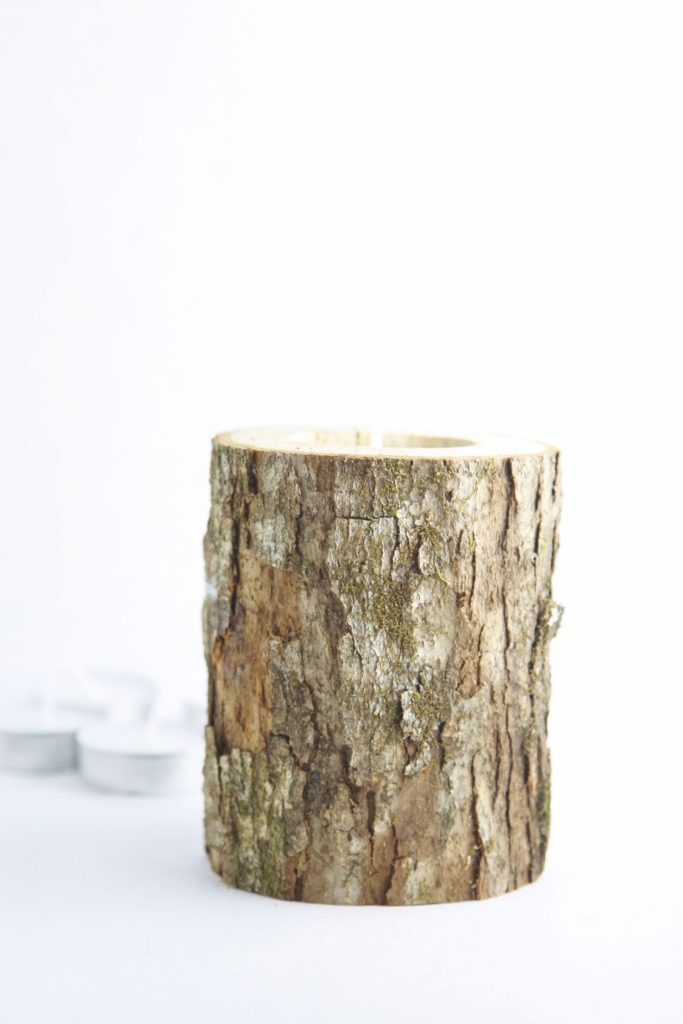
I have a very talented local friend AMY who I purchased a few of these candles from (hopefully she’ll have a Facebook page set up soon and I can properly introduce you to her). Aren’t they just awesome? Since I know not all of you live nearby good news is they’re easy enough to make yourself. I plan on making a slew of these to give as gifts this season and beyond.
SUPPLIES YOU’LL NEED TO MAKE THESE LOG CANDLES:
- Saw
- Vice Grip
- Drill
- Logs
- Votive Candles
STEPS TO MAKE DIY RUSTIC LOG CANDLES:
NOTE: (Shaking my finger) Be sure to take safety precautions when working with tools and Never leave burning candles unattended.
1. Place your log horizontally into a vice grip to secure it. Saw it to desired length.
2. Reposition log in vice grip so that it’s vertical and once again secure log.
3. Attach a 1 1/2″ wood boring drill bit to your drill and carefully drill into center of cut log. Approximately 3/4 – 1″ deep. Hole needs to be deep enough to accommodate tea light with slight clearance.
4. Dust off excess saw dust and insert tea light. All that’s left to do is set them up and show them off.
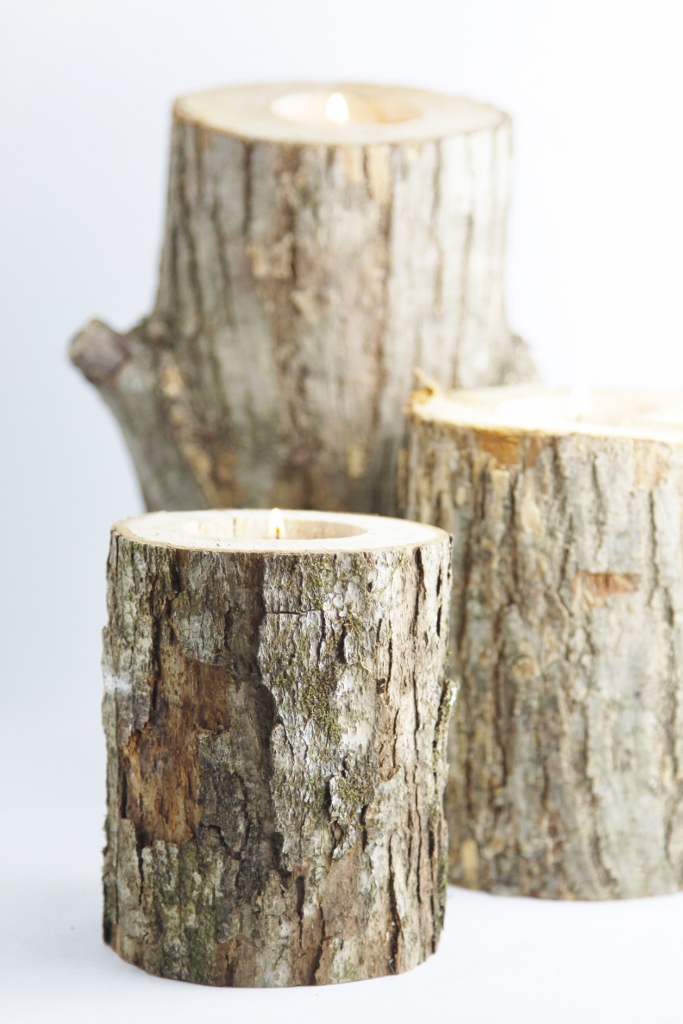
The beauty of these is that no two will be alike and that’s really a good thing. If everything was all alike that would be incredibly boring wouldn’t it.
TIPS: Vary the heights and widths of candles for table groupings. Want to personalize your candles? Go a step further and carve initials, shapes or numbers into the wood. How perfect would adding a number be for table settings?
FOR MORE CANDLE INSPO CHECK OUT:
It makes our day when you recreate any of our recipes. If you do, please consider leaving a star rating on this recipe, take a photo and TAG me on Instagram with #bellalimento.
We would love to see them!
And make sure you follow bell’alimento on Pinterest, Twitter, and Facebook, too!
Bev @ Bev Cooks says
Absolutely LOVE this. We have a big limb that Aaron cut into 2-inch pieces and he’s been thinking about the tea light route. Dig, dig, dig!
Paula – bell’alimento says
Bev, I loved your use of a tree branch for your babies mobile for your nursery! Keep on DIYing! Tea lights are always fun!
Angie says
This is so cute! Love it!